 button to display the Image List Screen:
From the Client or Debtor Account, click the button to display the Image List Screen:
Click
on the ![]() button to bring up the Image Viewer Screen.
button to bring up the Image Viewer Screen.
Click on the ![]() button.
button.
Select
the ![]() , and
, and ![]() button.
button.
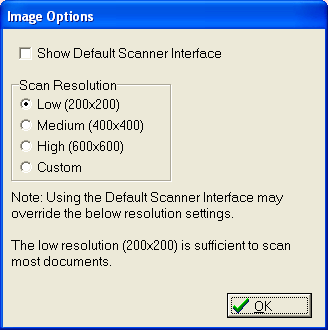
Check
the  box to use the operating system's default scanner
options. Or
select the scan resolution, by clicking the
box to use the operating system's default scanner
options. Or
select the scan resolution, by clicking the  button next
to the selection. The
higher the resolution the large the file size of your document.
button next
to the selection. The
higher the resolution the large the file size of your document.
Note: The resolution 200x200 is usually sufficient for most documents. You may skip this step and the scan will use the system defaults.
Click
the ![]() button.
button.
Click
the ![]() button.
button.
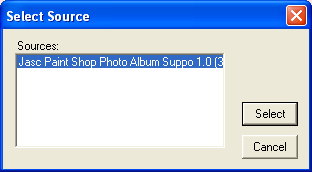
Highlight
the scanner to be used and click the ![]() button to begin the
scanning process. The
scanning screen will pop-up.
button to begin the
scanning process. The
scanning screen will pop-up.
Note: Make sure the document is on/in the scanner before selecting the scanner.
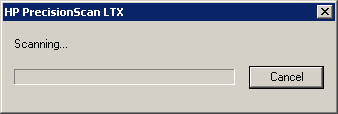
Click
the ![]() button to stop the scanning process if needed. If
stopped, users will have to begin the process again.
button to stop the scanning process if needed. If
stopped, users will have to begin the process again.
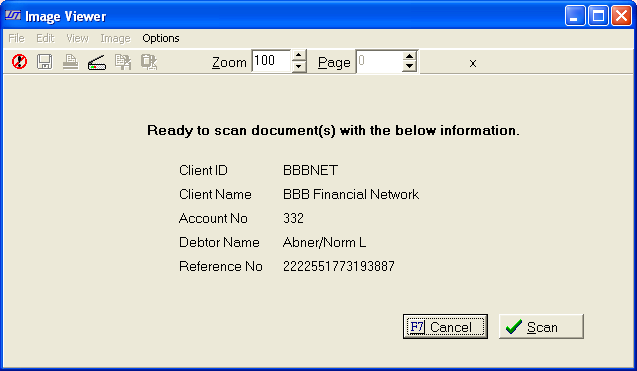
Once the
image has been completely scanned, a reduced size copy will appear on
the Image View Screen. You
can select to print the image by clicking the ![]() button.
button.
If
the scan is acceptable, click the ![]() button
to continue to display the Image Scan Confirmation screen.
button
to continue to display the Image Scan Confirmation screen.
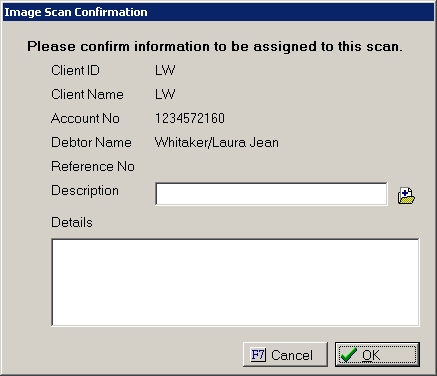
Select a Description Code or type in the Image Description.
Select the Image Type. And enter any details. Click
the ![]() button to save the image. The image will be saved in the image directory setup in the Image Options.
button to save the image. The image will be saved in the image directory setup in the Image Options.
Once an Account has an attached image, the Imaging Button will appear bolded.

To view or modify this image, see View or Modify Images.